Print
Send Response out via email
If you are sending the response out to the correspondent via email, then follow the steps below.
NOTE the email template from the Case Response category appears.
- Ensure that Email is selected in the Response Method section on the Prepare a Response screen.
- In the Address Replies To/Send From field, you have the option to select an email you would like to send the Response email from. Your email address will appear along with any emails that have been entered in Mailboxes using a Mailbox Type of Send On Behalf Of for the team associated to the case or at a team higher in the organisation structure hierarchy.
NOTE if there are no additional emails set up in Mailboxes, your email will be pre-populated in the Address Replies To/Send From field. - Review the email address in the To field. This will have been entered in the Correspondent Details section on the Case Details screen. Amend if necessary.
- Optional: If you have multiple email templates created in eCase for responding to a correspondent, then the Email Template field will appear. Select the relevant email by selecting the drop down arrow in the Email Template field. Review the text of the emails in the Body section.
- The
Subject line will pre-populate from the
Case Response
email template. If you want to edit the Subject line, select the Edit Subject
- Review and update the Body of the email as required.
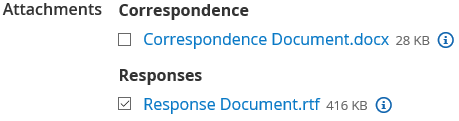
- If required, in the Attachments
area, select relevant case files to attach to the email. Place a tick in the relevant document tick box.
- Select the
Preview / Send Email
- To send the email, select the Send
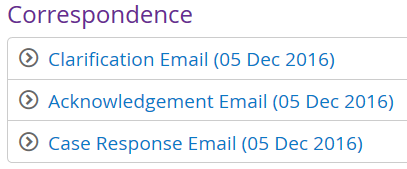
Select the arrow icon to expand the information and view the email that has been sent and the Standard Lines that were used. A copy of the email will also be available in the Documents section.
NOTE If you are the Case Owner and you have the Edit Response Dates privilege on your user account, you will have the ability to change the date the response was sent. Click on the edit pencil icon at the end of the Date Response Sent field, amend the date and click on the Save button. The sent date will have changed.