Print
New Record-only Quality Assurance
To record a Quality Assurance (QA) request that has come directly to you, use the
New Record-only Quality Assurance button. Follow the steps below to record the information.
- Sign into eCase. Refer to the How to Sign into eCase section.
- Go to your Workbasket and click on the Manage link, in the Actions column, for the case that you have received a direct response on a QA.
- Click on the Contributions/QA (0) link on the left menu. The Contributions & Quality Assurance screen appears.
- Click on the New Record-only Quality Assurance button. The Record-only Quality Assurance pop up window appears.
- Select the Type of QA person/area from the drop down arrow.

TIP anyone who has the Receive Peer Review QAs privilege on their user account, will be able to conduct a Peer Review. Anyone with the Receive Information Rights Unit QAs privilege on their user account will appear under the Information Rights Unit type, and anyone with the Receive Press Office QAs privilege on their user account will appear under the Press Office type. - Select the Contributor from the drop down list.
- Copy and paste, or re-type the text you initially sent to the QA person/area requesting a QA of the case into the Referral Text field.
- In the Due Date
field, select the date when the QA request is due back. Use the calendar icon to select the date.
Click on the Save button if you want to record the communication, but as yet, haven’t received the response. The contribution has been recorded message appears. The three buttons then become available on the request so that you can update the QA request when you receive a response.
1. Chase response – send an email to the QA person to chase the information requested.
2. Enter response yourself – enter the information directly into eCase if you have received it via another method.
3. Close without response – close the QA request without adding in a response. - Select the Outcome from the drop down arrow.

If you… Then… Select Accepted No additional fields appear. Select Accepted with Comments Enter the comments you have received from the QA person into the Referral Response field. Select Rejected Select the reason for the reject by placing a tick in the checkbox of one or more of the Reject reasons. 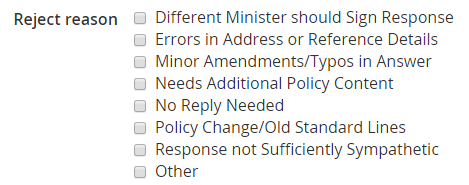
Enter in any comments received from the QA person in the Referral Response field. - Select the date the person responded to the QA by using the calendar icon in the Response Date field.
- Optional: Add any attachments to the QA by clicking on the Choose file... link or drag and drop a file into the Attachments area.
- Click on the Save button. The request is logged as a record-only quality assurance check and
the
Contributions/QA link on the
left menu indicates the number of contributions and QAs requested
Contributions/QA (2).

- If you would like to use the attached document
as a response document, click on the drop down arrow that is next to the
document and select the
Set as response document link.

- Click on the OK button if you would
like to set the document as a response document. The drop down link changes to
a
Response document icon. This indicates that the document
attached to the contribution has been selected to be a response document for
the case.
