eCase Automate
eCase Automate is a rules engine that allows you to define your own automation rules. The rules are currently triggered at the case creation stage when a webform request is received in the Webform Submissions queue and the requesters email address has been verified. If a submission is not verified, then a user with the Manage webform submissions privilege, on their user account, can manually verify the request which will trigger the automation rules.
To create or modify an automation rule, a user will need the Maintain Automate rules privilege on their user account. To access the eCase Automate screen, go to the More menu and in the Settings column, select eCase Automate.
The eCase Automate screen allows users to filter the automation rules, add new rules, modify rules and prioritise the order of rules.
Filter Options
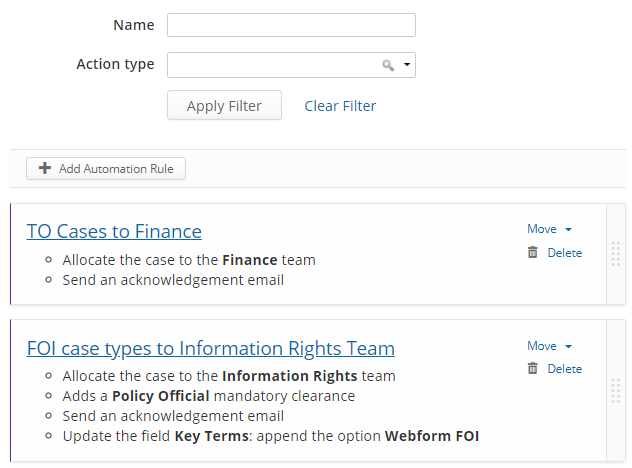
There are two filter options that can be used to find relevant automation rules.
- Name - add part or all of the name of the rule you would like to search for.
- Action type - select one or more actions from the drop-down list to filter the automation rules.
- Allocate the case to - use this filter to see all the rules that allocate the case to a team.
- Update the field - will show the rules where a field on the case is being updated.
- Add a mandatory clearance - filter the rules where a mandatory clearance is being set.
- Send acknowledgement email - view the rules where an acknowledgement email is being sent.
Once the filters have been defined, select the Apply Filter button. The eCase Automate screen will reflect the rules that you require.
Remove the filter
Once a filter has been applied, there are two ways to remove it.
1. On the banner that appears above the filtered rules, select the remove the filter link. Once selected, the full list of rule will be shown.

2. Select the Clear Filter link found under the filter options.