Print
Acknowledge the request via letter
Once you are assigned as a drafter, the Correspondence section becomes available on the Case Details screen where you can send an acknowledgement. The first step is to acknowledge that the correspondent has sent in a request.
In order to send a request, follow the steps below.
- Sign into eCase. Refer to the How to Sign into eCase section.
- Find a case in your Workbasket that you would like to send an Acknowledgement letter to.
If your case… Then… Is in your My Work tab · Click on the Manage link to take you to the Case Details screen Is in the Awaiting Allocation tab · Click on the Take Ownership link (or click on the Manage link if you have already taken ownership of the case). The Case Details screen appears. - Go to the Correspondence section on the Case Details screen and click on the
Send Acknowledgement button. The Send Acknowledgement popup window appears. The Respond By field will be defaulted to Letter from the Reply Preference field on the Case Details screen. - Enter in the date the acknowledgement letter is going to be sent using the calendar icon in the Acknowledgement date field.
- Optional: enter in any Acknowledgement Details if required.
- If there is an acknowledgement template, download the template and update with the relevant details. Next, attach your acknowledgement document to the case. Use the Attach new files… button, or drag and drop a file in to the Send Acknowledgement area. The Attach New Files window opens.
- In the Attach New
Files
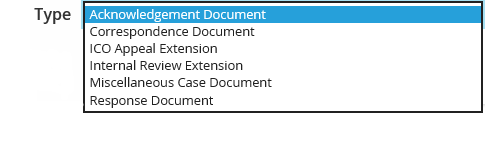
window select Acknowledgement
Document
using the Type drop
down.
NOTE Add additional documents if required using the Add more files... button. - Optional: Add in a description for the document and click on the Attach files to case button.
- Click on the Mark as Sent button. A copy of the Acknowledgement details will be found under the Correspondence section and a copy of the Acknoweldgement document can be found in the Documents section.