Print
How to allocate a case
Once a case has been created, the next step is to allocate the case for investigation.
To allocate a case, follow the steps below.
- Sign into eCase. Refer to the How to Sign into eCase section.
- Find a case in your Workbasket
that you need to allocate.
If your case… Then… Is in your My Work tab · Click on the Resume link to take you to the Case Details screen. Is in the Awaiting Allocation tab · Click on the Take Ownership link (or click on the Manage link if you have already taken ownership of the case).
· Select the Team you would like to assign the case to by clicking on the drop down Team list.
· If applicable, select the Case Advisor from the drop down list. - Select the Allocate button from the tool bar. The Allocate pop up window appears.
- Select the Drafter from the
drop down arrow.
If… Then… A Hub coordinator is assigned to the Team allocated in the Case Details screen The Hub option will automatically appear first in theDrafter area. 
NOTE you can allocate to a drafter rather than a Hub by clicking on the drop down arrow.A Hub coordinator is not assigned to the Team allocated in the Case Details screen Users assigned as drafters will be available in the drop down list. 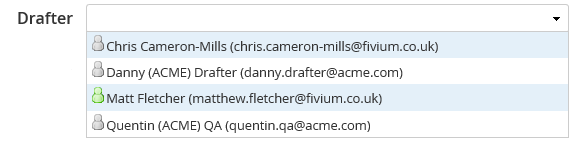
- Optional. Select the Email Assignee tick box to send an email to the user you are assigning the case to.
- Optional. If you would like to copy other people into the notification email, click on the CC Recipients tick box. Additional fields will become available. The Team
allocated in the Case Details screen
will automatically be populated in the
Include
People From Teams
area.

In the CC area, click on the drop down arrow to select the people in the chosen team.
NOTE you can select other teams using the Include People From Teams drop down arrow. The new people will then be available in the CC area for selection. - Optional. Add a comment
that will appear in the
Notes
section of Case Details.

NOTE if you have used the [[CASE_NOTE]] mail merge field in the Case Assignment Notification email template, the comment added in the Add Comment field will be added to the email sent to the recipient. - Click the Submit button.
- If applicable, a message appears with the Case Ref number.
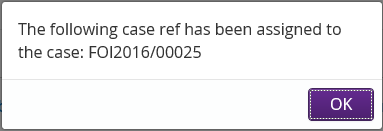
Click on the OK button to clear the message.