How to add a Mailbox
Email addresses can be configured on eCase to say for example, who the emails are sent from, the name of the sender or who you would like to receive emails (team contribution requests, hub allocation emails etc.). These can be configured at any level of the organogram, and can be cascaded down to lower levels if needed. If the configuration is cascaded from the top of the organogram, it will apply to all the teams beneath it unless a configuration has been applied at a lower level. This will then override the higher email configuration.

The eLearning module will open in a new internet window.
- How to add a mailbox (duration = 13 minutes)
To add a new mailbox that has not been configured before, follow the steps below.
- Go to the More menu and select Mailboxes under the Settings column. The Mailboxes screen appears with the search criteria at the top of the screen and the mailbox results at the bottom of the screen.
- Select the Add new mailbox button. The Mailbox Details and Mailbox Rules screen appears.
- Place your mouse in the Email Address field and enter the mailbox email address.
- The Sender Name field will be used to identify the email address but it will also be used when sending an email using the Address Replies To or the Send From field.
Place your mouse in the Sender Name field and enter the name or description of the email address.
TIP if the email is to be used for receiving internal emails, like a contribution email sent to a team shared mailbox, or receiving an allocating email when sending a case to a hub, use the Sender Name field to describe what the email address is. For example FOI Human Resources Team Contribution or FOI Human Resources Hub.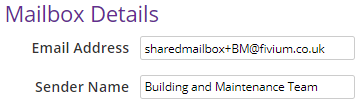
NOTE The Sender Name will only be used when you use this mailbox in the Address Replies To or Send From field. - Next, add the rules for the mailbox. In the Mailbox Rules section, select the
Add a mailbox rule button. - To add the first rule, select the drop down arrow on the Select a Mailbox Type field and select the required mailbox type. See Mailbox Type for more details on the options available.
- Depending on the mailbox type you select, different options become available. As you choose the rules, the text will change to reflect your choices of how the mailbox will be used.
Field Description in team
Use the drop down arrow to select the team where you would like to set up the mailbox rule. If you do not select a team, but leave the field blank, the mailbox rule will apply to all teams in the organogram.
Once you select a team, the Cascade this mailbox to teams below this in the organogram tick box becomes available. Select the tick box if you would like to use this mailbox for teams below the one chosen in the organogram.
for case types
The default is to apply the rule to all case types. To change this, select the drop down arrow and select a parent case type, or an individual case type. If the email address is to be used for multiple case types, for example for all FOI requests and FOI Reviews and appeals, two rules will need to be added to the mailbox.
To add an additional rule, select the Add a mailbox rule button.
for QA types
The default is to apply the rule to all QA types. To change this, select the drop down arrow and select the QA type required. If the email address is to be used for multiple QA types, additional rules will need to be added to the mailbox. 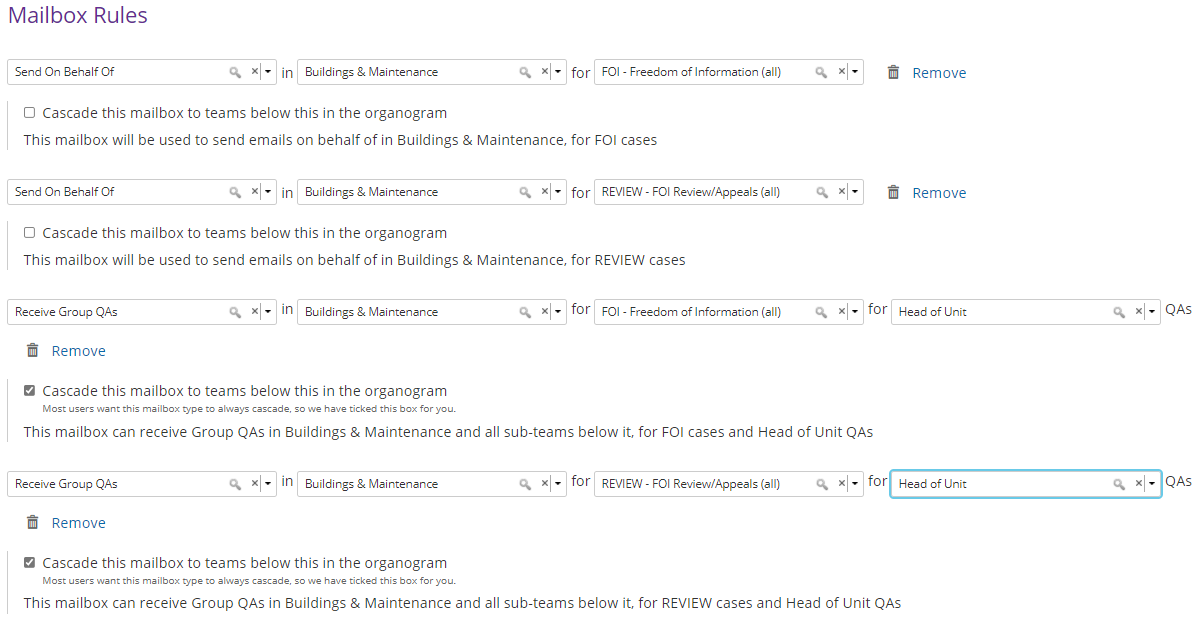
NOTE to delete a mailbox type, team, case type or QA type within a rule, select the x at the end of the relevant field. To delete a complete rule, select the Remove link. - Review the Mailbox Details and Mailbox Rules. If all the details are correct, select the Save button. The new Mailbox will be added to the list.