Print
How to create a new role

The eLearning module will open in a new internet window.
- How to create a role (duration = 8 minutes)
To create a new role on eCase, follow the steps below.
- Go to the More menu and select Roles under the Settings section.
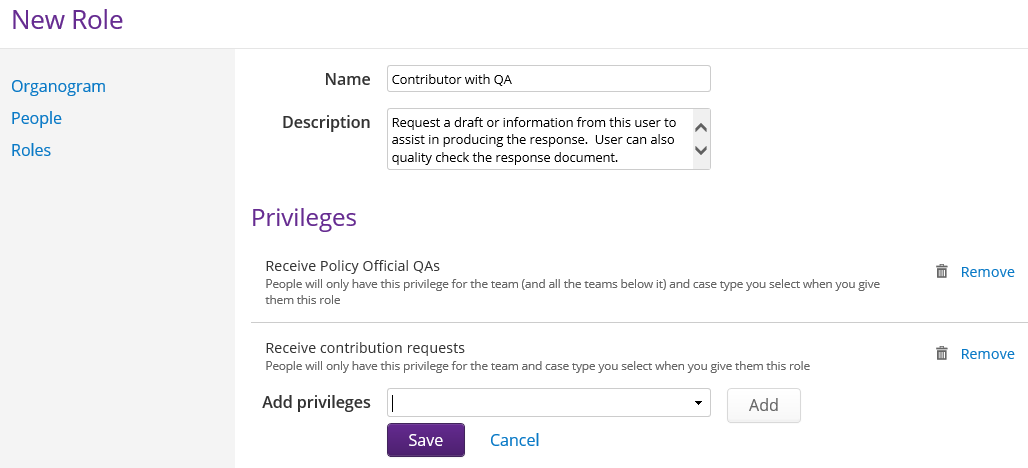
- To create a new role, select the Add new role button. The New Role screen appears.
- In the Name field, type the name of the new role you are creating, for example Contributor with QA.
- In the Description field, enter a description of the new role, for example who should use the role and what privileges they have.
- In the Add privileges field, click on the drop down arrow to search for the relevant privileges that you would like to add to the role.
If you know the name of the privilege, place your mouse in the Add privilege field and start to type the name. A list of privileges that match the typed entry will appear. Review the list and select the privilege you would like to attach to the role.
Repeat the process until all the relevant privileges have been added to the role. - Click on the Add button to add the privileges to the new role. The privilege selected will appear in the Privileges section.
- To save the new role, click on the Save button. The new role is added to the Roles list.